

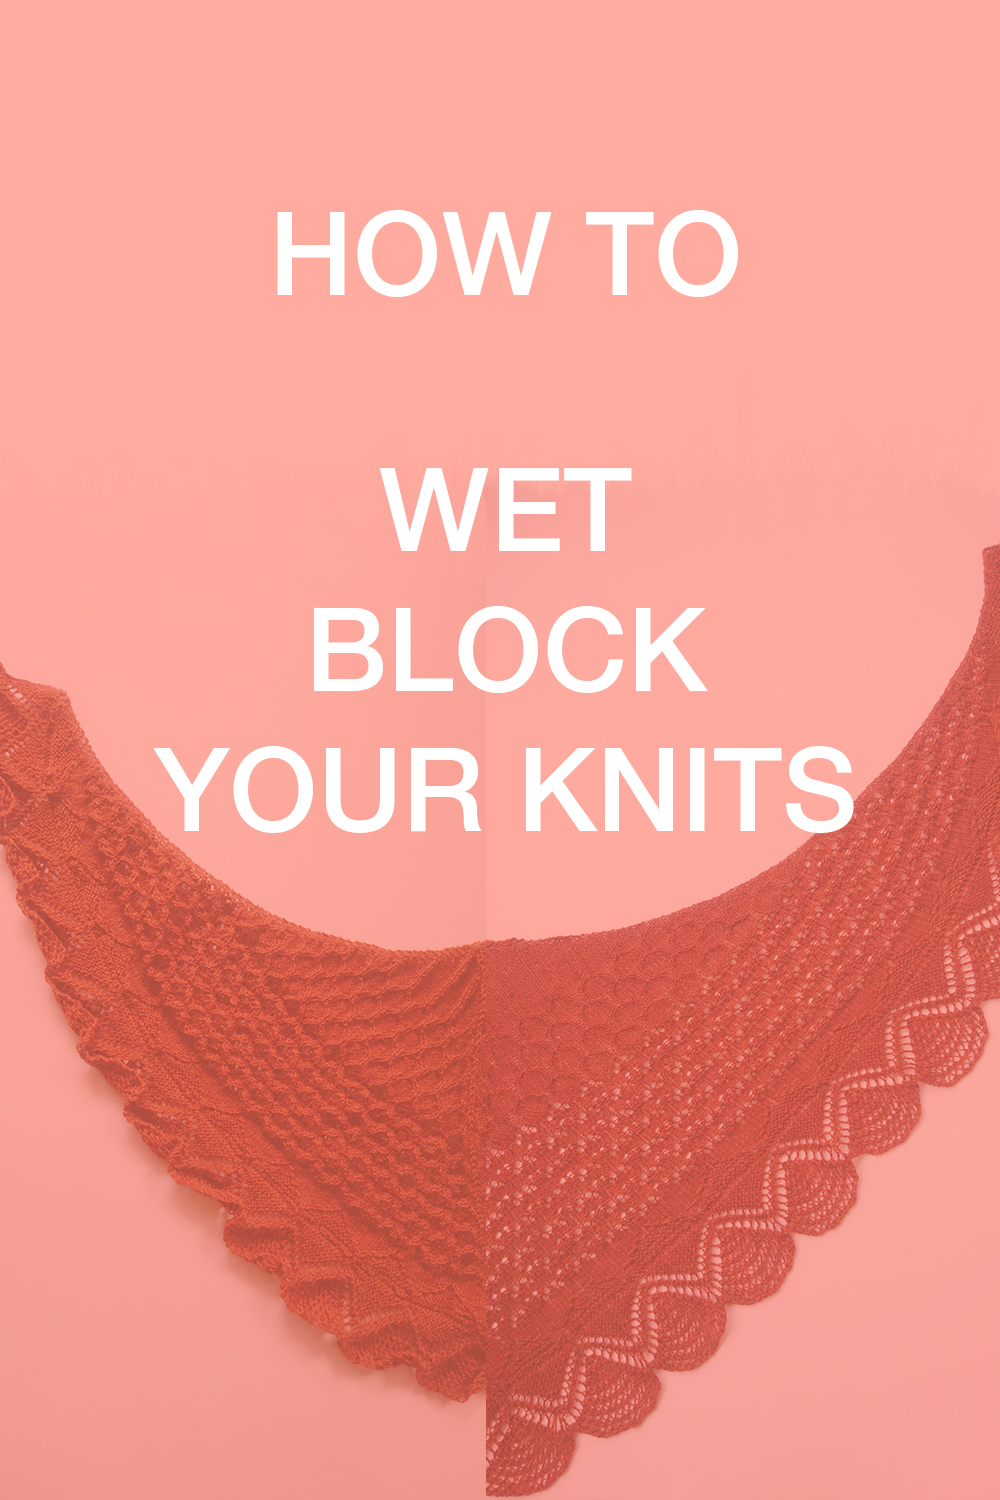
Wet blocking your knits is an essential step if you like to have a more professional look of your finished piece. I talk about when is it necessary, tips for different fibres and how to block.
Most knitters have heard of the term “blocking”, but don’t know what to do with it. In most instructions, the word “block” is written at the end. Since most people don’t know what to do with the term, this essential step is skipped. But this step has a great effect on the knitted piece. If your finished piece doesn’t look like the one in the magazine or your swatch is out of place, blocking might be the solution.
When do you need to block
For some casual garments, like a one-piece sweater that’s meant to be a wear-around-the-house type of item, blocking isn’t necessarily a must. But most knits will benefit from the shaping that blocking provides. Usually, I block every shawl. Just to give it a professional touch.
Even though blocking is considered the final step, you should block your swatches before casting on for your project. The gauge stated in a pattern is measured after the piece is blocked, so you need to know your blocked gauge in order to make the correct choice of needle size.
Where I recommend to block
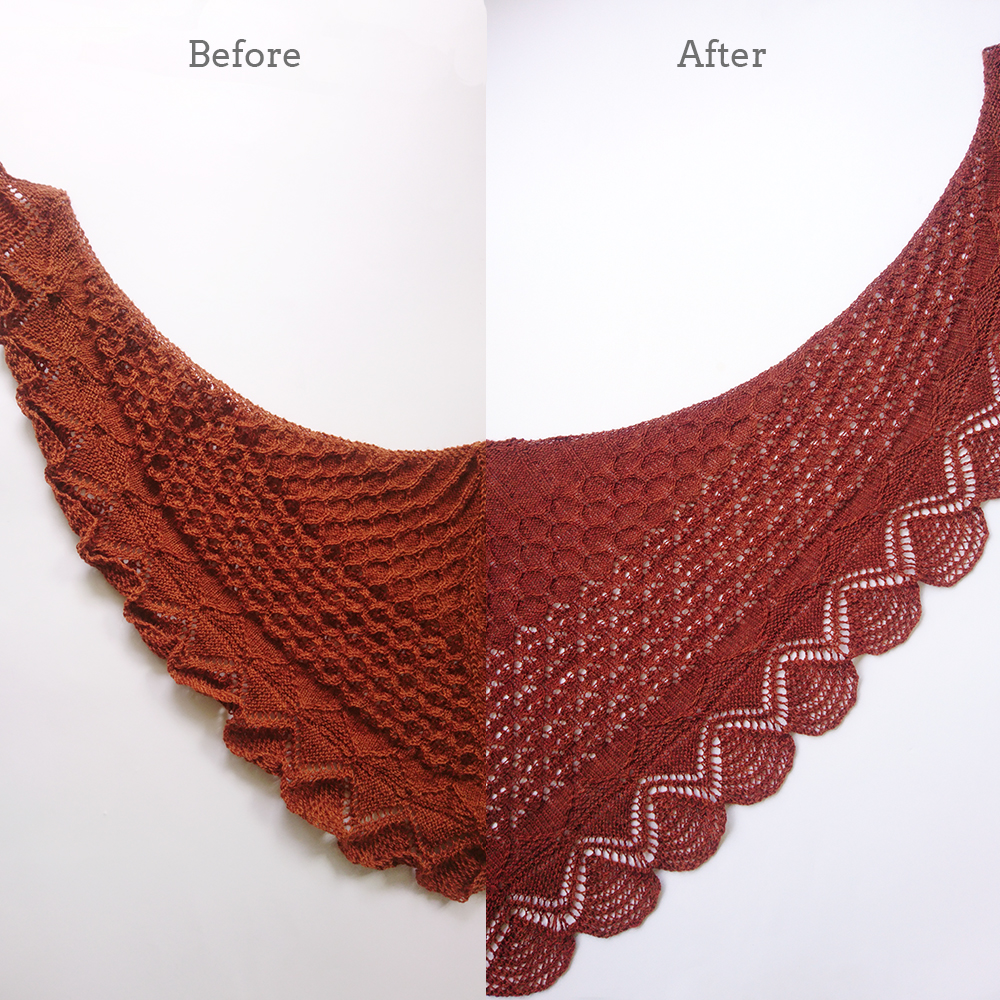
- It makes lace pretty. Before blocking, lace looks like a sad, shrivelled-up heap of holey knitting. By stretching the fabric during blocking, all the yarnovers open up to reveal an airy, lacy fabric. It is a vital step in the lace knitting process; do not skip blocking lace!
- It evens out stitches. Soaking the project helps even out the overall tension, allowing the stitches to settle in together. Blocking knits makes for a smoother fabric and easier seaming. Stranded colourwork in particular benefits from a good blocking to even out the stitches and make a more cohesive fabric.
- It makes your project slightly bigger. If your finished sweater is a little snug, you can sometimes block it to fit. (This can be a good way to get a better fit through the bust.) However, this only works for very small adjustments; if the sweater is just too small and you get stuck when trying it on, blocking will not fix it. Also bear in mind that this fix is temporary; you’ll need to block your sweater to the larger measurements every time you wash it. Needless to say, it’s better to swatch and get the correct gauge before making the sweater than it is to stretch it to fit afterwards.
- It blooms woolen spun yarn. Many natural fibres “bloom” when blocked. When knit, stitches worked in some fibres appear smaller and the fabric more open and loose. However, once blocked, these same stitches will “bloom,” filling in the gaps and creating a more solid and substantial fabric. To ensure that you will get the best possible finish for your handknits, be sure to block your swatch to see how the final fabric of your knitting will appear.
Where I don’t recommend to block
- Curling stocking stitch. Stocking stitch worked without any borders is always going to curl. Always. No matter how much you block that cowl, it’s going to coil up like a cannoli as soon as you unpin it. To avoid this, choose a different stitch pattern or work it in the round and sew the ends closed.
- Big changes in size. You can’t make a sweater 6 inches bigger than it was originally knit – it’s simply not possible. At best, you’ll just stretch out the stitches in a most unattractive way; at worst, you’ll stretch the yarn to its breaking point and destroy your sweater. If your sweater is too small, it’s best to frog it and reknit it at the correct gauge or pass it along to someone who fits into it.
- Really uneven tension. Blocking can smooth out stitches, but it won’t magically fix uneven tension. If your knitting is showing dramatic gauge differences between your knit and purl rows, you’ll need to adjust your knitting style. Try a different method (e.g., if you’re a continental knitter, try English or combination knitting) or use two different size knitting needles (e.g., work knit rows with a size 5 needle and work purl rows with a size 4 needle) to fix this problem.
- Acrylic fibres generally return to their pre-blocked shape fairly quickly after the pins are removed and may not be the best choice for an intricate and heavily patterned lace shawl.
Blocking tips for different fibres
- Natural fibres like wool and alpaca generally benefit the most from full wet blocking, where you totally soak your piece first. (See below for a complete how-to.)
- For more delicate items like cashmere and acrylic, spritz blocking is recommended. (This is just like the washing method, but you spritz the fabric with a spray bottle rather than soaking it completely.)
- Steam blocking is an alternative method that uses heat and moisture.
- Never use a heat method on silk, which is too delicate to withstand it.
- If you apply heat to acrylic through steam blocking or ironing the fabric directly, the plastic fibres in the acrylic yarn essentially melt together, creating a whole new soft, limp texture. This is called “killing” the acrylic, and sometimes it’s a good thing if super-drapey is what you’re going for. But once you’ve “killed” a garment, there’s no going back — you can’t block it to restore its original shape. So think twice before you apply this technique.
What materials do you need to block
- Sink
- cold water
- Wool detergent
- towel
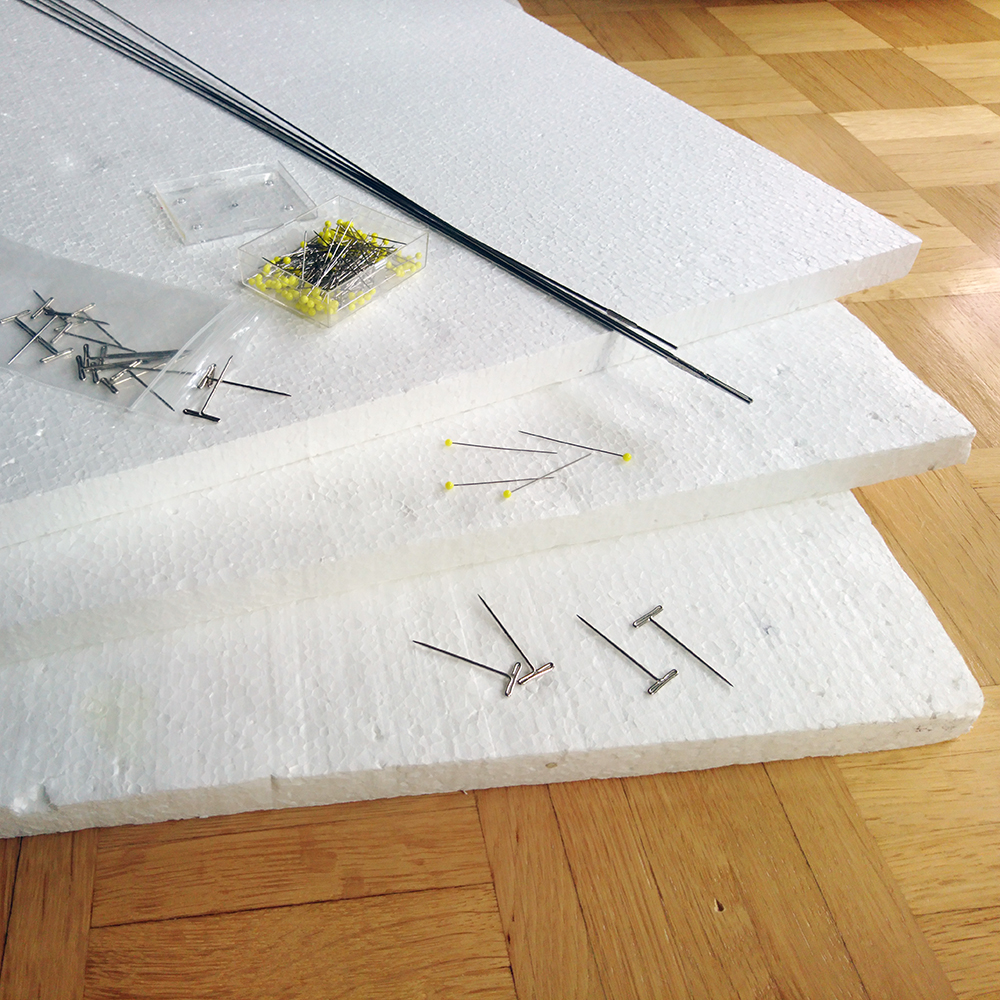
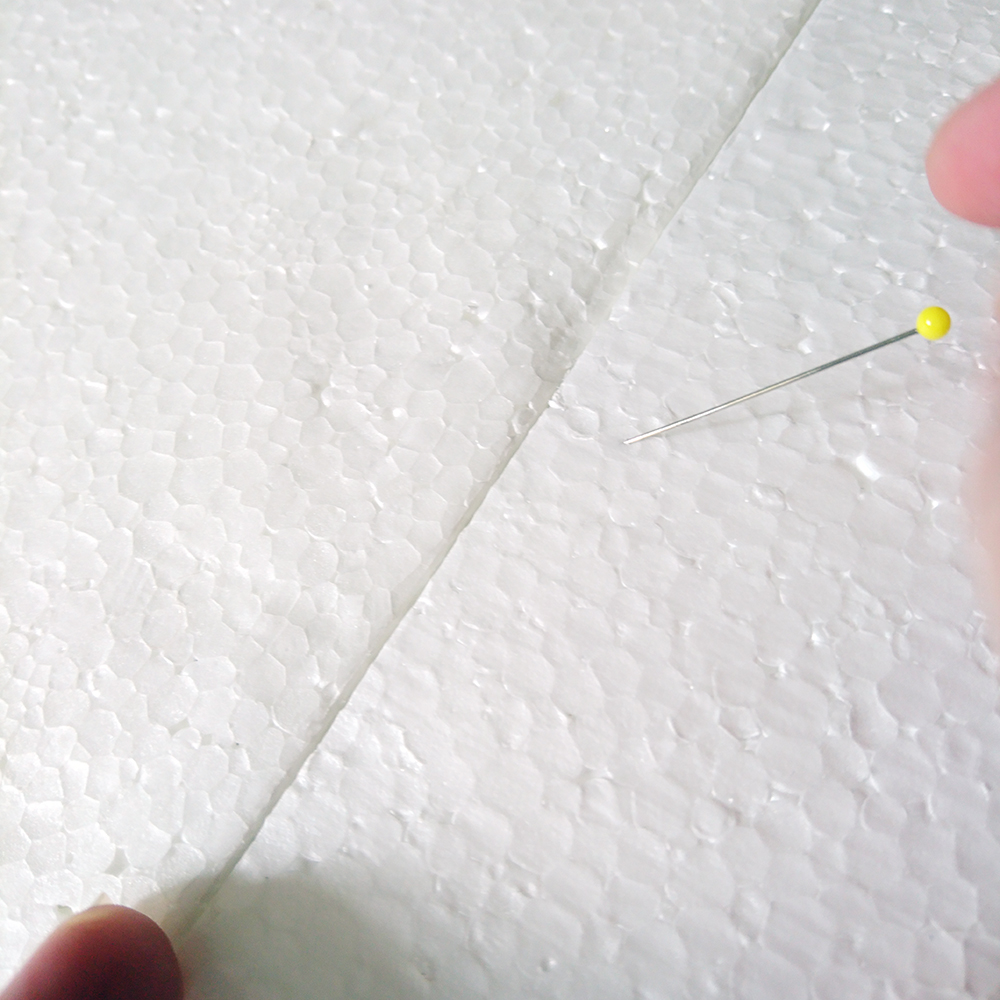
- blocking mats: there are expensive blocking mats for knitters/ crocheters, but you can also use puzzle mats for kids. I prefer styrofoam boards (around 2 cm thick) from the DIY store. Some people also use their guest bed.
- pins
- measuring tape
- optional: blocking wires and T-pins
How to wet block your knitting in 7 steps
I always wash my hand-knitted pieces by hand. I had to learn this the hard way when I put my very first hand-knitted socks (with Superwash equipment) in the washing machine. (It still hurts!)
However, if you have a good washing machine, you can try it to wash it there according to the washing instructions on the yarn label and skip steps 1-4.
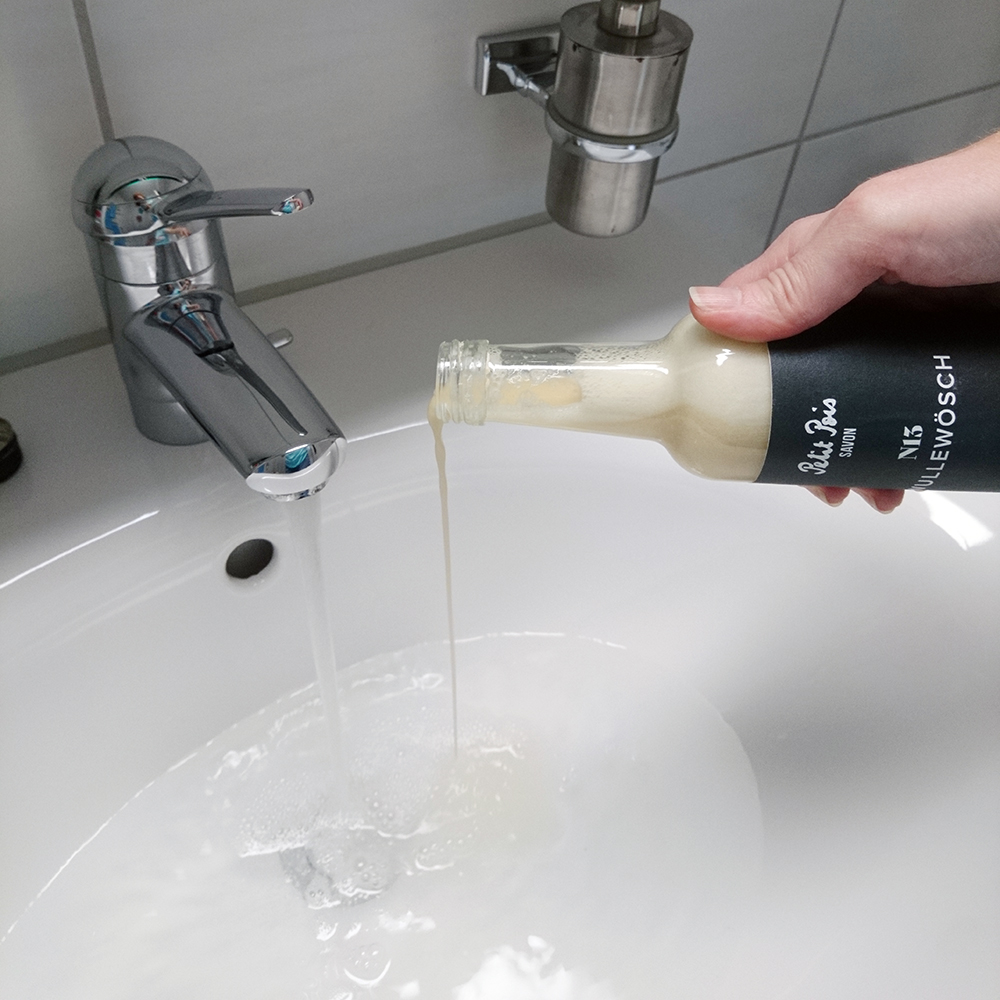
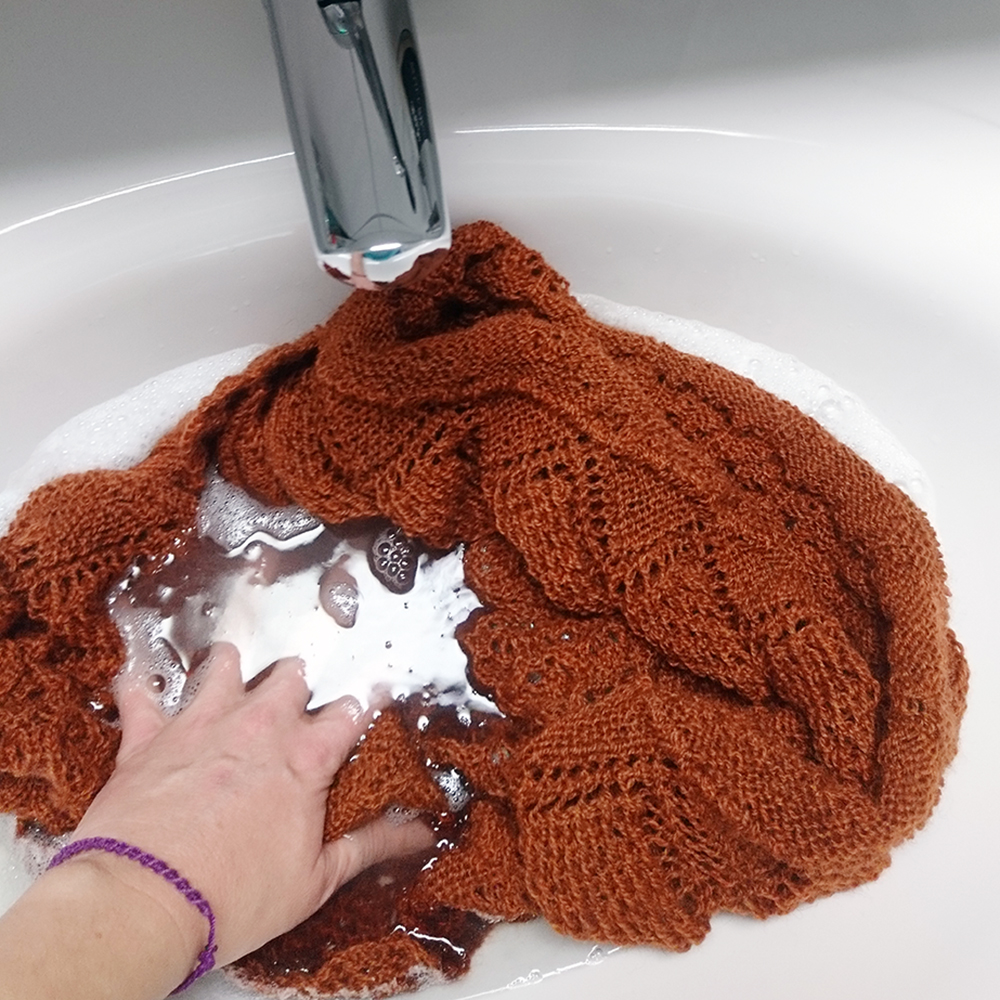
- Preparing the bath
Leave cold water in a sink and add the wool detergent. I prefer using “Wullewösch” from Petit Pois Savon as it’s organic and locally produced.
- Give your knitted piece a gentle bath!
Put the piece of knitting in the basin and let the detergent work for about 15 minutes.
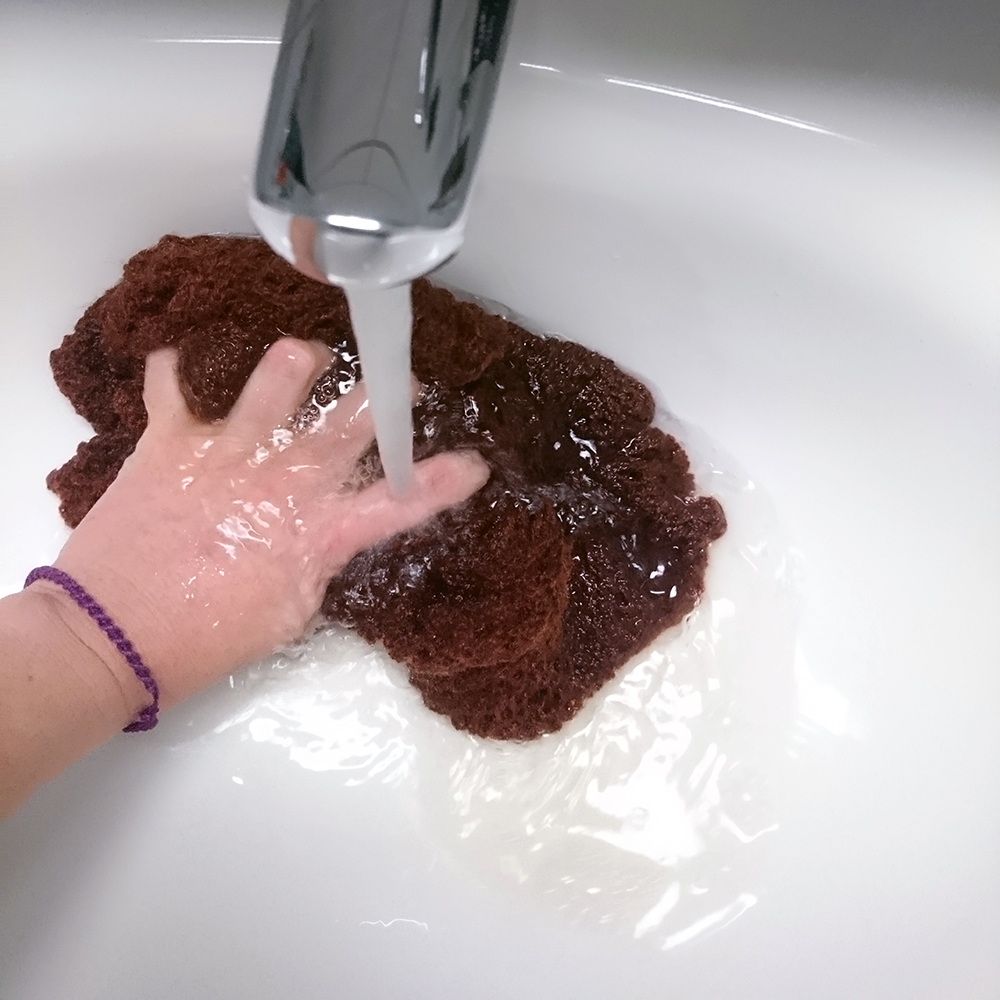
- Rinse it
After it has soaked in, drain the water and rinse the piece. After that, I already squeeze out most of the water.
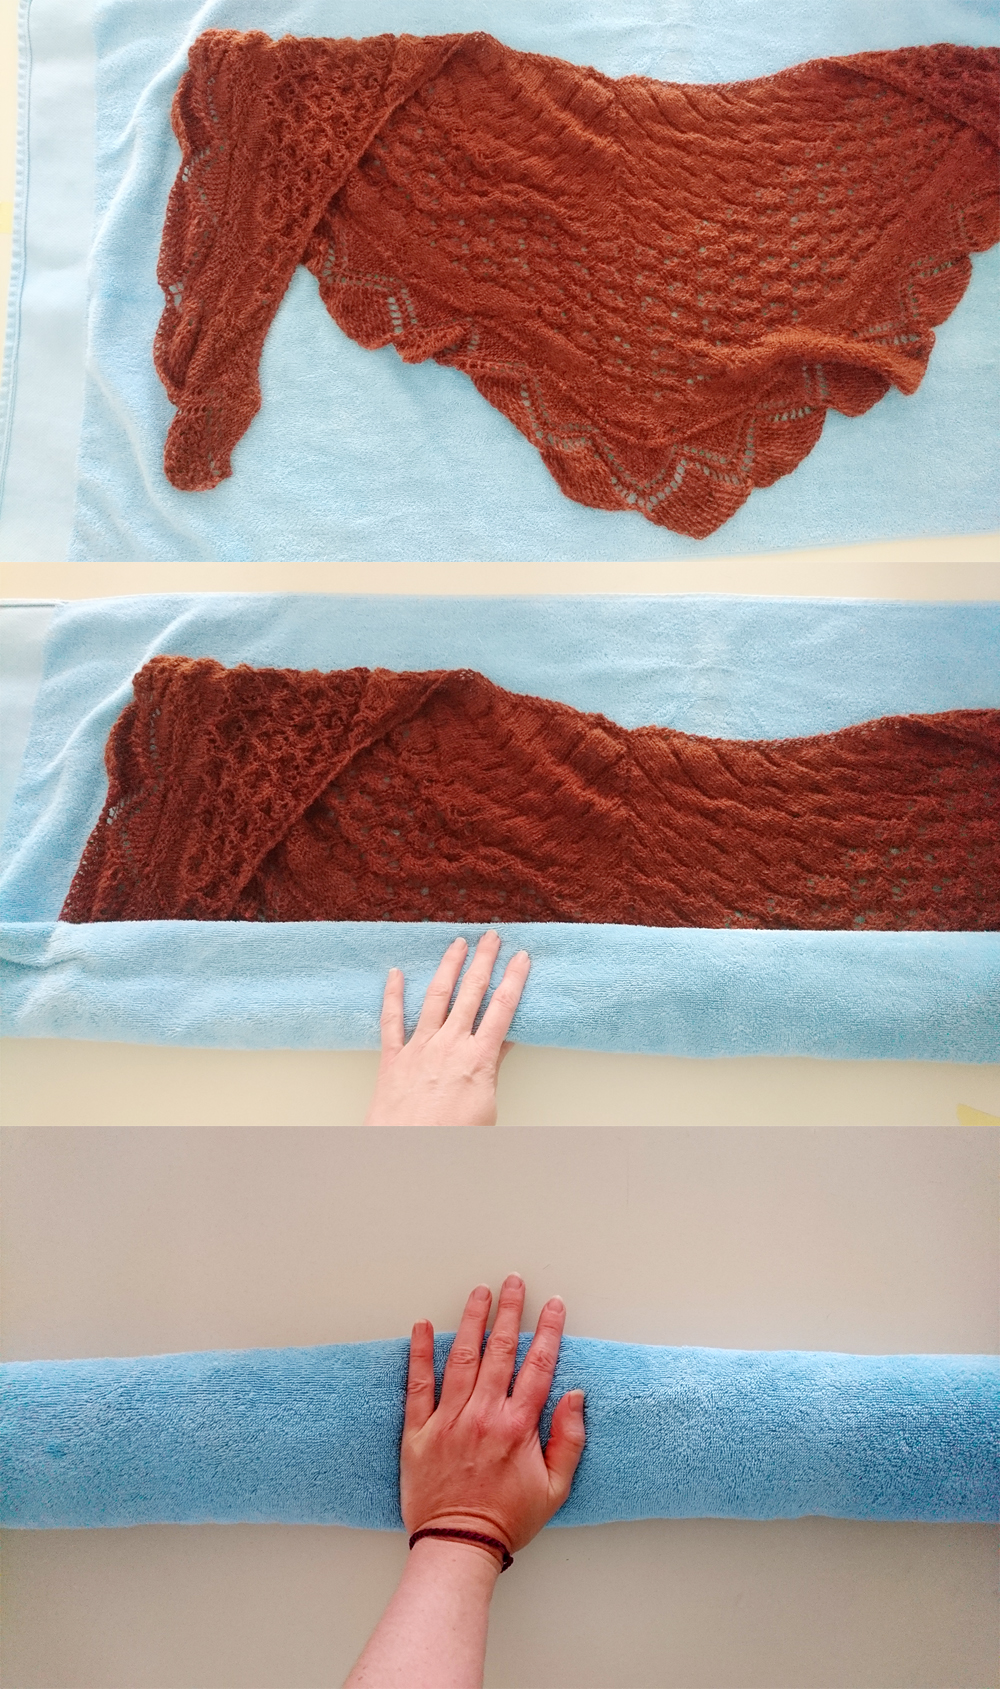
- Absorb the remaining water
Put the towel on a flat surface and lay the wet piece on top of it. Now you start to roll up the towel. When the towel is completely rolled up, you press the towel with your hand (or feet) to soak up the remaining water.
- Prepare your blocking mats
Empty the guest bed, put the puzzle mats together or pin the styrofoam boards together.
- Pin out your knitting
Lay the knitting flat and start to block the piece with the pins (or blocking wires). I recommend starting from the middle. This way you can make sure that the piece is blocked symmetrically (here is the measuring tape really helpful).
Insert the pins into the plate or mattress at the edge of the knitted piece. To prevent scalloped edges, use more pins.
If you use blocking wires for straight edges, I thread the wires along the edge. Then I take the T-pins and block a straight line with the wire.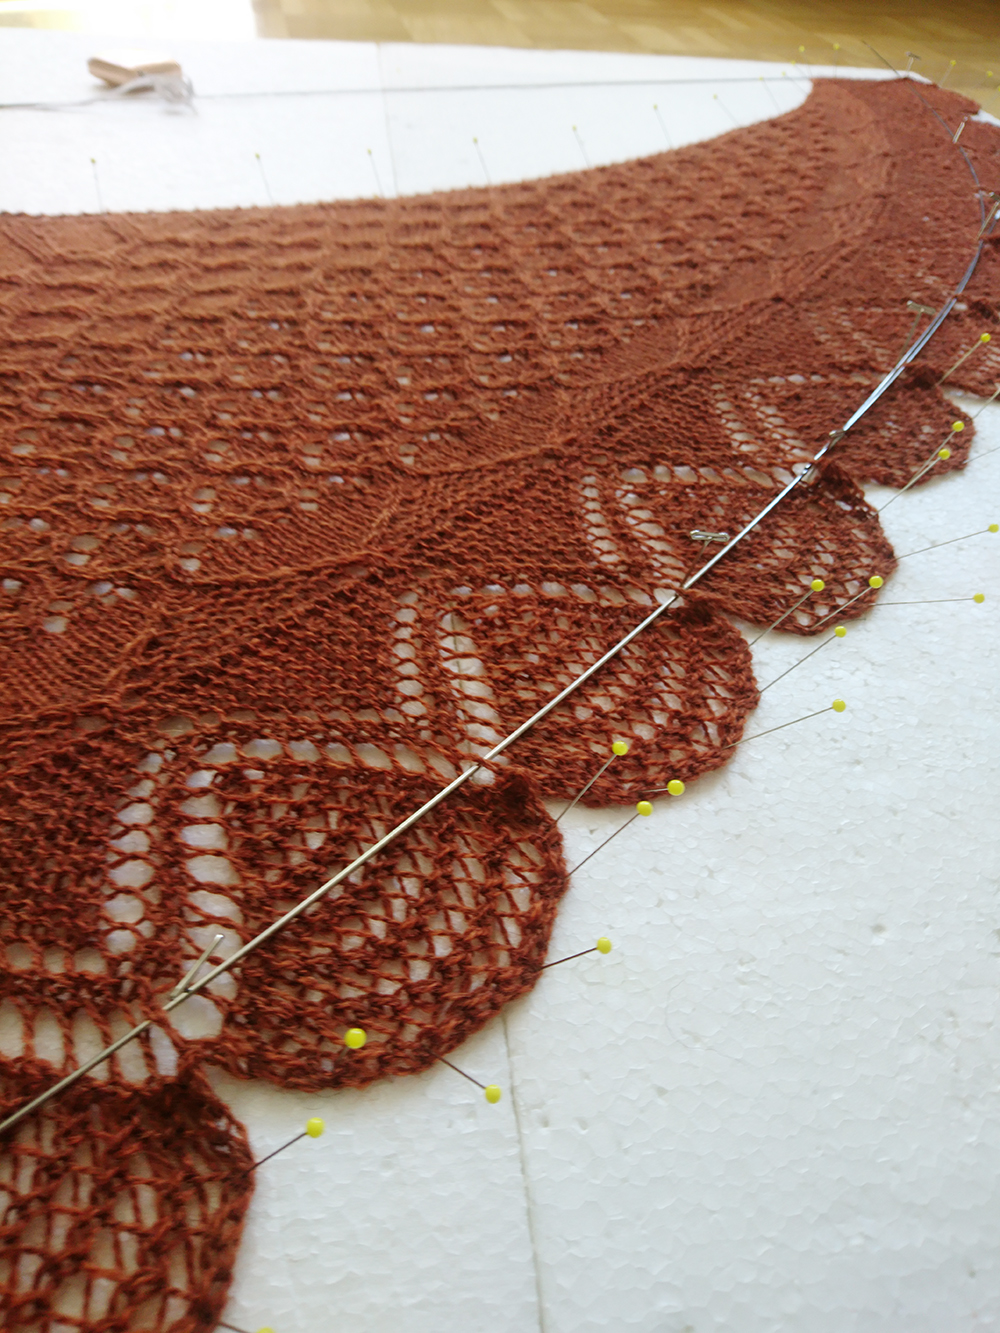
- Let it completely air-dry
Let the piece dry completely. This can vary depending on the wool, the amount of water in the piece or the humidity or temperature.
When it is completely dry, remove the pins and wires.
How to assist the shawl in keeping its shape
Depending on the material used for knitting/crocheting, the piece will stay in shape longer or not. There are materials such as silk that quickly lose their shape.
Besides the material, you may have used a thin yarn (lace- weight).
I recommend to use a spraying solution, which you put on the pins and spray the part with it.
To assist the shawl in keeping its shape, add a small amount of dissolved corn starch (approximately one half teaspoon of powder per 1 litre of water) to spray bottle and lightly spray pinned shawl.
Leave a Reply